Missing or corrupted files in Windows 7, 8, 10 or 11? You can fix the problem using built in DISM and SFC commands – here’s how.
Starting in 2009 with the release of Windows 7 and Server 2008 R2, Microsoft introduced some built in tools for repairing Windows operating systems – DISM and SFC.
These Windows corruption and repair tools are available for Windows 7, Windows 8, Windows 10 and Windows 11 and Server Operating Systems 2008 R2, 2012, 2012 R2, 2016 and 2022.
It’s worth noting that corruption can have many causes, and one of the first things you should do if you suspect that something is not working properly is running a disk check.
The SFC Command (System File Checker)
If you working on Windows 8 or later, run the DISM commands described below before running SFC.
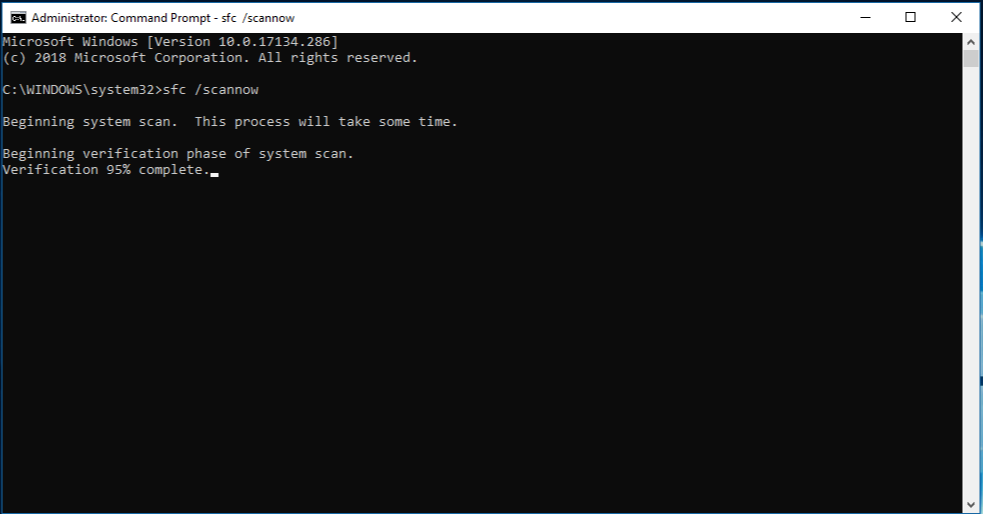
Open an administrative (elevated) command prompt or powershell window, you can do this by looking for Command Prompt in the start menu and right clicking on it and selecting ‘Run as Administrator’
At the prompt type or paste:sfc /scannow
It may take some time for the command to run, but you will get a result in the command window either telling you that corruption was found and repaired, or that no corruption was found.
If corruption was found, we recommend you run the command again (and again) until you get a message saying that no corruption was found.
At the console you can easily reselect your previous command by simply pressing the up arrow on your keyboard and pressing enter again to run.
More info about SFC from Microsoft
The DISM Command (Deployment Image Servicing and Management)
The DISM command is a bit more complicated than SFC, and accepts a number of different switches (or parameters) to change it’s behaviour.
It’s worth noting that the term ‘Image’ is used to refer to the target system, DISM can be used to repair an offline image as well as online, meaning if your computer will not even get to the desktop you can put the hard-drive in another computer and run the DISM commands targetting the failed disk. As this is a more advanced process we are only going to be working with the Online switch which means the actions will target the computer (image) you write them on.
For the purposes of this article we are going to focus on the three most relevant:
- CheckHealth
- Used to run a quick check to determine if the image is repairable.
- Does not modify any files.
- At an administrative (elevated) powershell window run:
DISM /online /cleanup-image /checkhealth
- ScanHealth
- Used to detect and corruption to the image.
- Does not modify any files.
- At an administrative (elevated) powershell window run:
DISM /online /cleanup-image /scanhealth
- RestoreHealth
- If corruption was detected by either the CheckHealth or ScanHealth commands this command will attempt to resolve and fix that corruption.
- Modifies and repairs files.
- Requires an internet connection unless you have installation media to hand and specify using the Source switch in your command. E.g.
DISM /online /cleanup-image /restorehealth /Source:G:\Sources\install.wim
Where G: is the drive letter of your installation media (CD/DVD/USB) - At an administrative (elevated) powershell window run:
DISM /online /cleanup-image /restorehealth
More about DISM from Microsoft
Still need some more help?
We hope that this article has helped you out, but if you’re stuck or need some more help, please contact us and we’ll do our best to help you.